Running Tasks with Jules
Once you’ve logged in and connected GitHub, you’re ready to start coding with Jules. This guide walks through the key steps of running a task — from selecting a repo to writing your prompt and setting up notifications.
Choose a repo and branch
Section titled “Choose a repo and branch”Jules needs a repo and branch to work on. After logging in:
- Open the repo selector dropdown.
- Select the repository you’d like Jules to work on.
- Choose the branch you want to base your changes on.
Jules remembers your last-used repo, so you’ll always see the last used repo in the repo selector.
Write a clear prompt
Section titled “Write a clear prompt”Jules works best when your prompt is specific and scoped. Use plain language — no need for perfect grammar or code.
Attach visual context
Section titled “Attach visual context”You can upload images when initiating a task in Jules. Visuals like UI mockups, front-end glitches, screenshots, diagrams, or inspiration help clarify context when used with your natural language prompt. How to use it:
- Drag-and-drop or browse to upload one or more images at task creation.
- Total upload size must stay under 5MB.
- Supported formats: PNG and JPEG.
- Images are only attachable during initial task setup; not yet available in follow-up prompts.
Jules ingests these visuals to inform its understanding and output. They wont be embedded in code or committed to your repository. If you want visual assets included in code, upload them to your repo separately.
✅ Good prompts
- Add a loading spinner while
fetchUserProfileruns - Fix the 500 error while submitting the feedback form
- Document the
useCache hook with JSDoc
🚫 Avoid
- Fix everything
- Optimize code
- Make this better
If Jules needs more clarity, it will ask for feedback before writing code.
Watching Jules work
Section titled “Watching Jules work”Once the plan is approved, Jules will start coding.
You will see:
- An activity feed as each step completes
- Inline explanations of each change
- A mini diff preview for each file
Use the diff editor for a full view across all files.
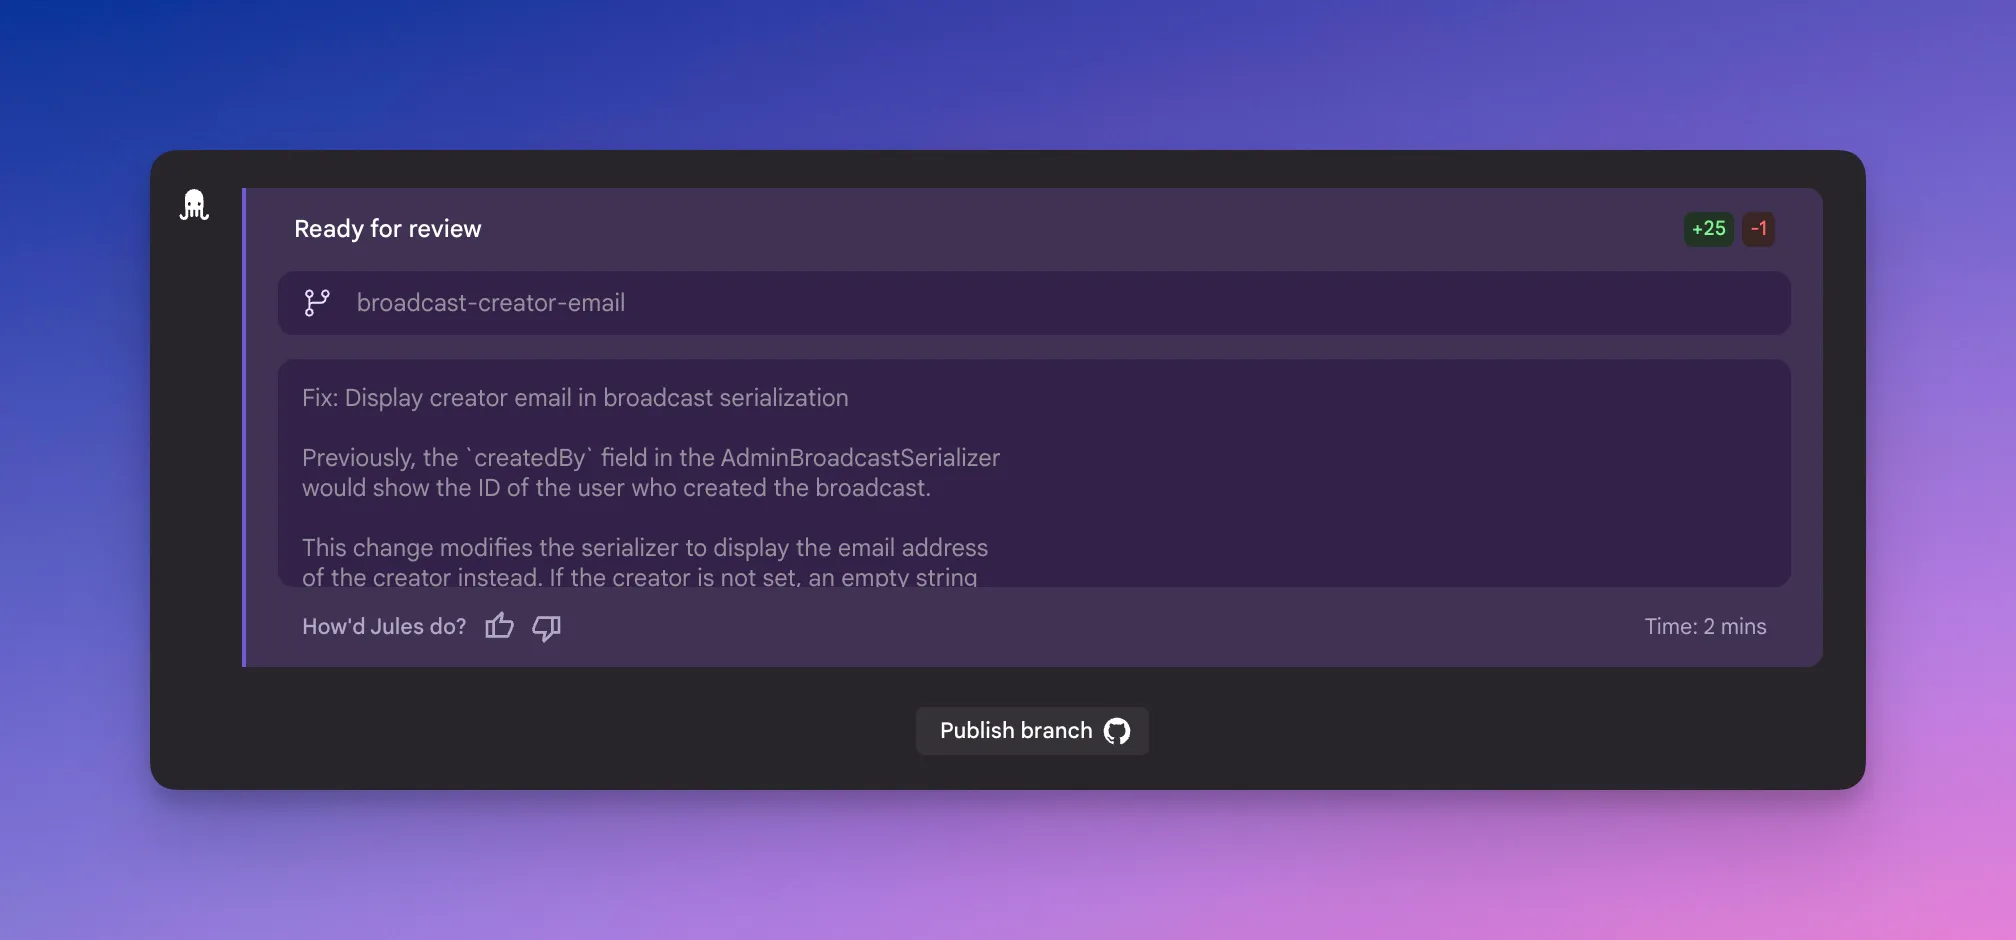
Final summary & branch creation
Section titled “Final summary & branch creation”When Jules finishes a task, it provides a summary of everything it accomplished.
- ✅ Files changed
- ⏱ Total runtime
- ➕ Lines of code added/changed/removed
- 🌿 Option to create branch and commit message
You can click Create branch to push the changes. Note that:
- You are the branch owner
- Jules appears as the commit author
- You can open a PR from this branch in GitHub
Giving feedback mid-task
Section titled “Giving feedback mid-task”You can send feedback to Jules while it’s working:
- Type directly into the chat box
- Ask Jules to change its approach, revise code, or clarify logic
- Jules will respond and, if needed, replan or revise the task
You can intervene at any time, you’re in control.
Pausing Jules
Section titled “Pausing Jules”You can pause Jules at any time by clicking the “pause”.
When Jules is paused it won’t do any work, and will wait for your next set of instructions. You can prompt it again, unpause it, or delete the task.
Starting tasks from GitHub Issues
Section titled “Starting tasks from GitHub Issues”You can start a task from a GitHub issue by applying the label “jules” (case insensitive). Make sure that the Jules GitHub app is authorized to access the repo.
Select an issue, then click the gear icon next to “Labels”. Then add the label “jules” (case insensitive) to the issue.
Soon, you will see Jules comment automatically on the issue. When Jules is finished with the issue, it will provide a link to the pull request where you can review its work.